DIY Bird Seed Wreath Recipe
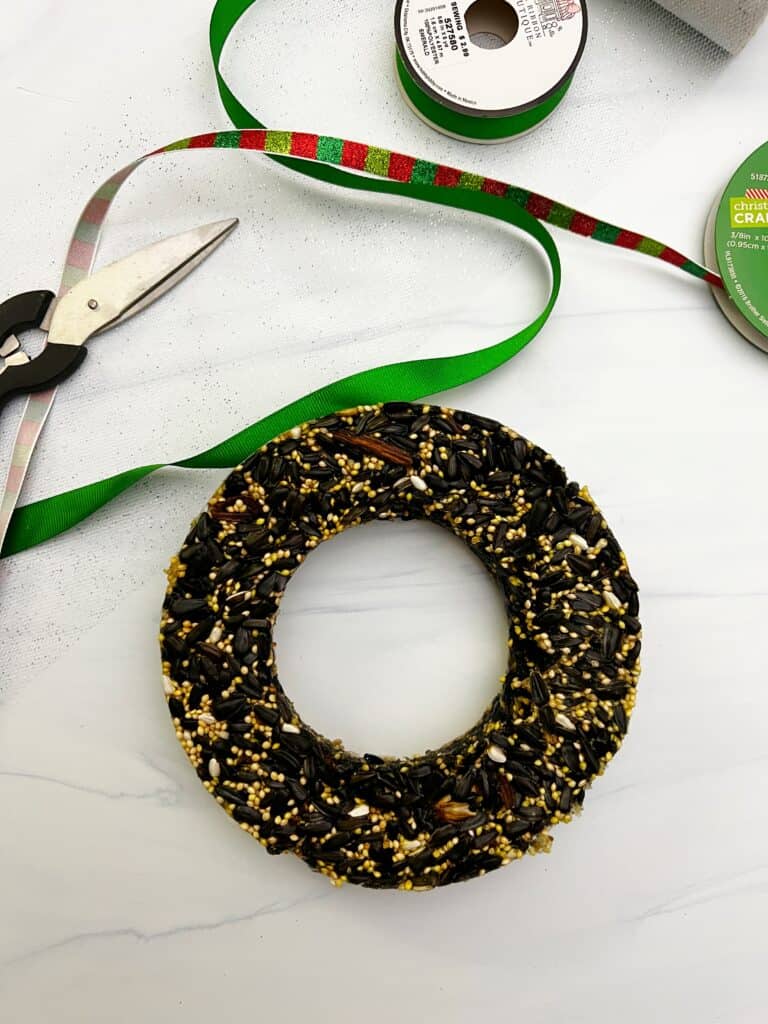
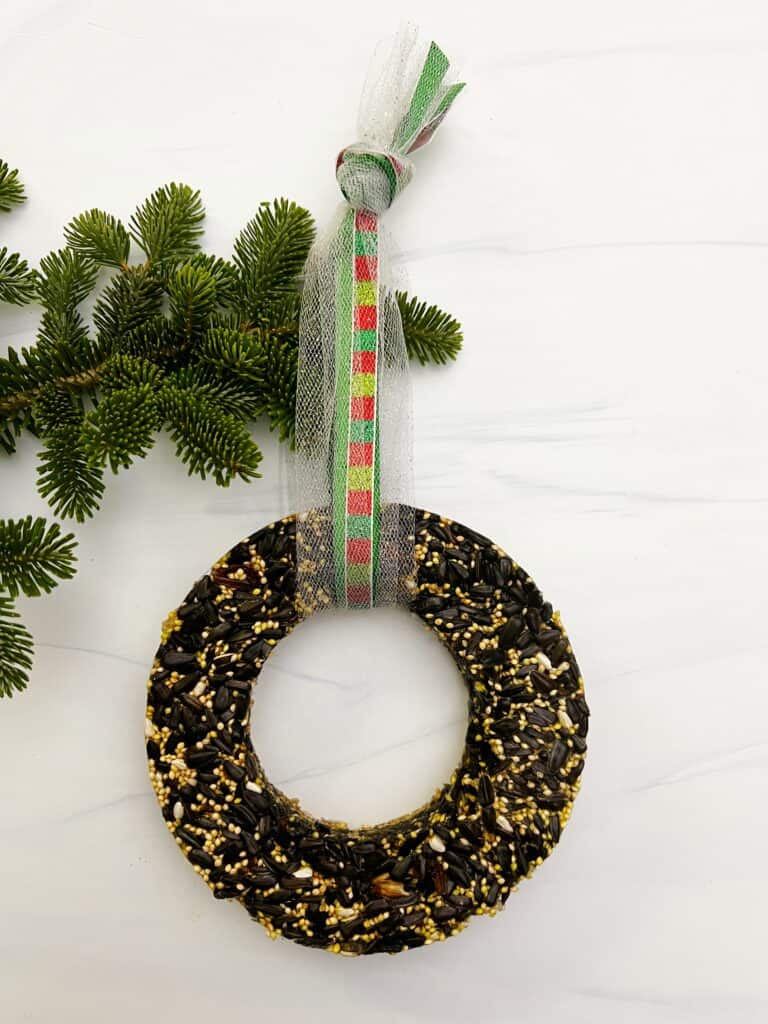
I've seen homemade bird seed ornaments and thought a bird seed wreath would be just as simple and delish for the birds! With the cooler months being ushered in, you may notice the animals in your yard making a frantic rush to gather food. Your feathered friends especially will be looking a little harder for their daily meals, since many berries and seeds they once planned on are now dying down for the season.
This year, why not give the birds that grace your yard a little hand? In fact, you can do it while adding a little color and charm to your yard at the same time. Take a look below at how to create your very own bird seed wreath, the perfect combination of fun and function!
A homemade bird seed wreath is so easy to make and only take a few ingredients, so take a look and see what a cinch it is to make your own. Your feathered friends are sure to thank you!
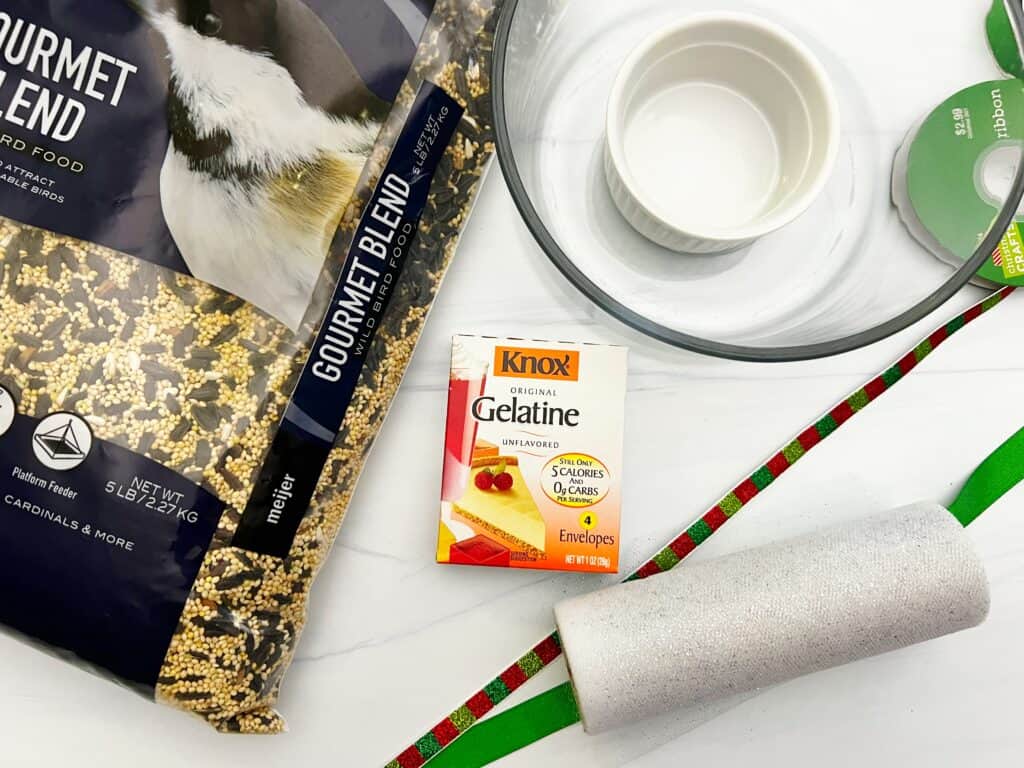
DIY Birdseed Wreath Recipe Supplies
- 1 pound bag, Bird Seed
- 4 packets, Knox Unflavored Gelatin
- 2 cups, Water
- Non-stick Cooking Spray
- Ribbon
- Wreath Mold
I used a small bowl to make the mold, but you can use anything around your house, a Bundt cake pan, or even a muffin tin would work.
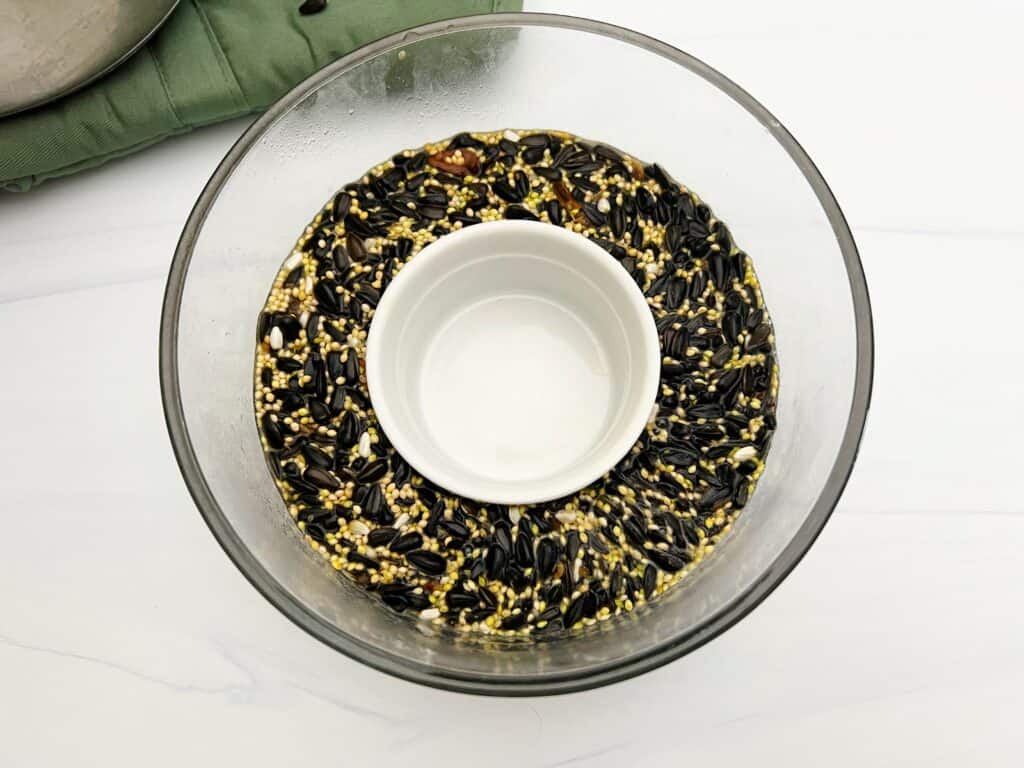
DIY Birdseed Wreath Recipe Directions
- On your stove top or in a microwave safe bowl, bring 2 cups of water to boil.
- Stir in the gelatin packets until dissolved. This equals out to about 8 tablespoons.
- Stir in 3 cups of bird seed into the mixture. Add an additional cup little by little until the mixture is a rough paste. You don’t want it to be too thin, and you don’t want it to be too chunky.
- Spray your mold with non-stick cooking spray.
- Pour the mixture into the mold and press it firmly. NOTE if you are using a muffin tin, take a pencil and poke a hole in each cup before moving onto the next step.
- Place the mold in your refrigerator for 2 hours.
- You will now notice your wreath is jelled and firmed. Try bending the pan carefully to loosen up the wreath and remove it as you would a cake. If it does not want to budge, allow it to set for 15 minutes then use a knife to peel the edges and loosen it up.
- Once your wreath is removed, poke your ribbon or fabric though the piece and make a bow for hanging.
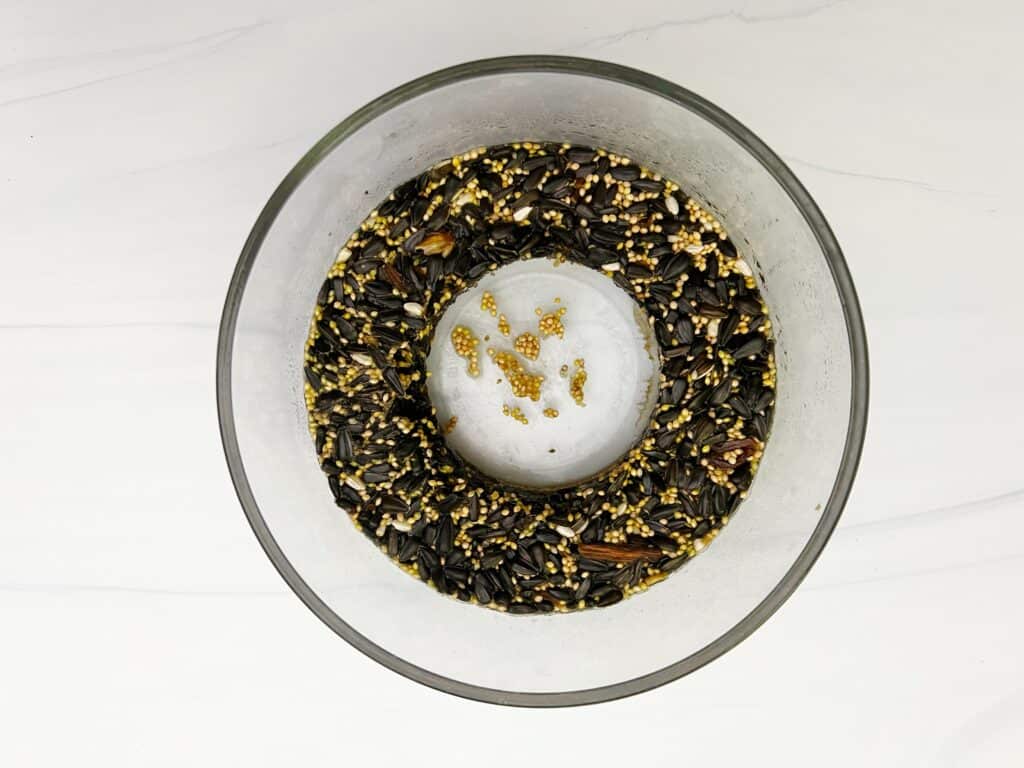
That’s it! These can be hung on porches or from branches. The gelatin is perfectly safe for the birds and in no time they will devour these tasty treats.
These bird seed wreaths also make excellent yet frugal gifts for the bird lovers in your life. Give this simple DIY bird seed wreath a try and you will not only have some frugal fun, but make your feathers friends pretty happy as well!
How do you bind bird seeds together?
The gelatin makes this bird seed wreath stay together well once it's been set and formed. Gelatin is perfectly safe for birds too!
How long do bird seed wreaths last?
Well that depends on how hungry your birds are! This is a pound of bird seed so it can last a few days depending on how many birds visit.
Disclosure: This post contains a link to an affiliate and support this site. See my Disclaimer Policy for additional information.
PrintDIY Bird Seed Wreath Recipe
Make your own bird seed wreath with these simple directions and inexpensive supplies.
Ingredients
- 1 pound bag, Bird Seed
- 4 packets, Knox Unflavored Gelatin
- 2 cups, Water
- Non-stick Cooking Spray
- Ribbon
- Wreath Mold
Instructions
- On your stove top or in a microwave safe bowl, bring 2 cups of water to boil.
- Stir in the gelatin packets until dissolved. This equals out to about 8 tablespoons.
- Stir in 3 cups of bird seed into the mixture. Add an additional cup little by little until the mixture is a rough paste. You don’t want it to be too thin, and you don’t want it to be too chunky.
- Spray your mold with non-stick cooking spray.
- Pour the mixture into the mold and press it firmly. NOTE if you are using a muffin tin, take a pencil and poke a hole in each cup before moving onto the next step.
- Place the mold in your refrigerator for 2 hours.
- You will now notice your wreath is jelled and firmed. Try bending the pan carefully to loosen up the wreath and remove it as you would a cake. If it does not want to budge, allow it to set for 15 minutes then use a knife to peel the edges and loosen it up.
- Once your wreath is removed, poke your ribbon or fabric though the piece and make a bow for hanging.





How long will they keep before hanging them?
Can these wreaths be place in the freezer until the holidays
Renee, I don’t see why not. What a great idea too!