Homemade Knight in Shining Armor Costume
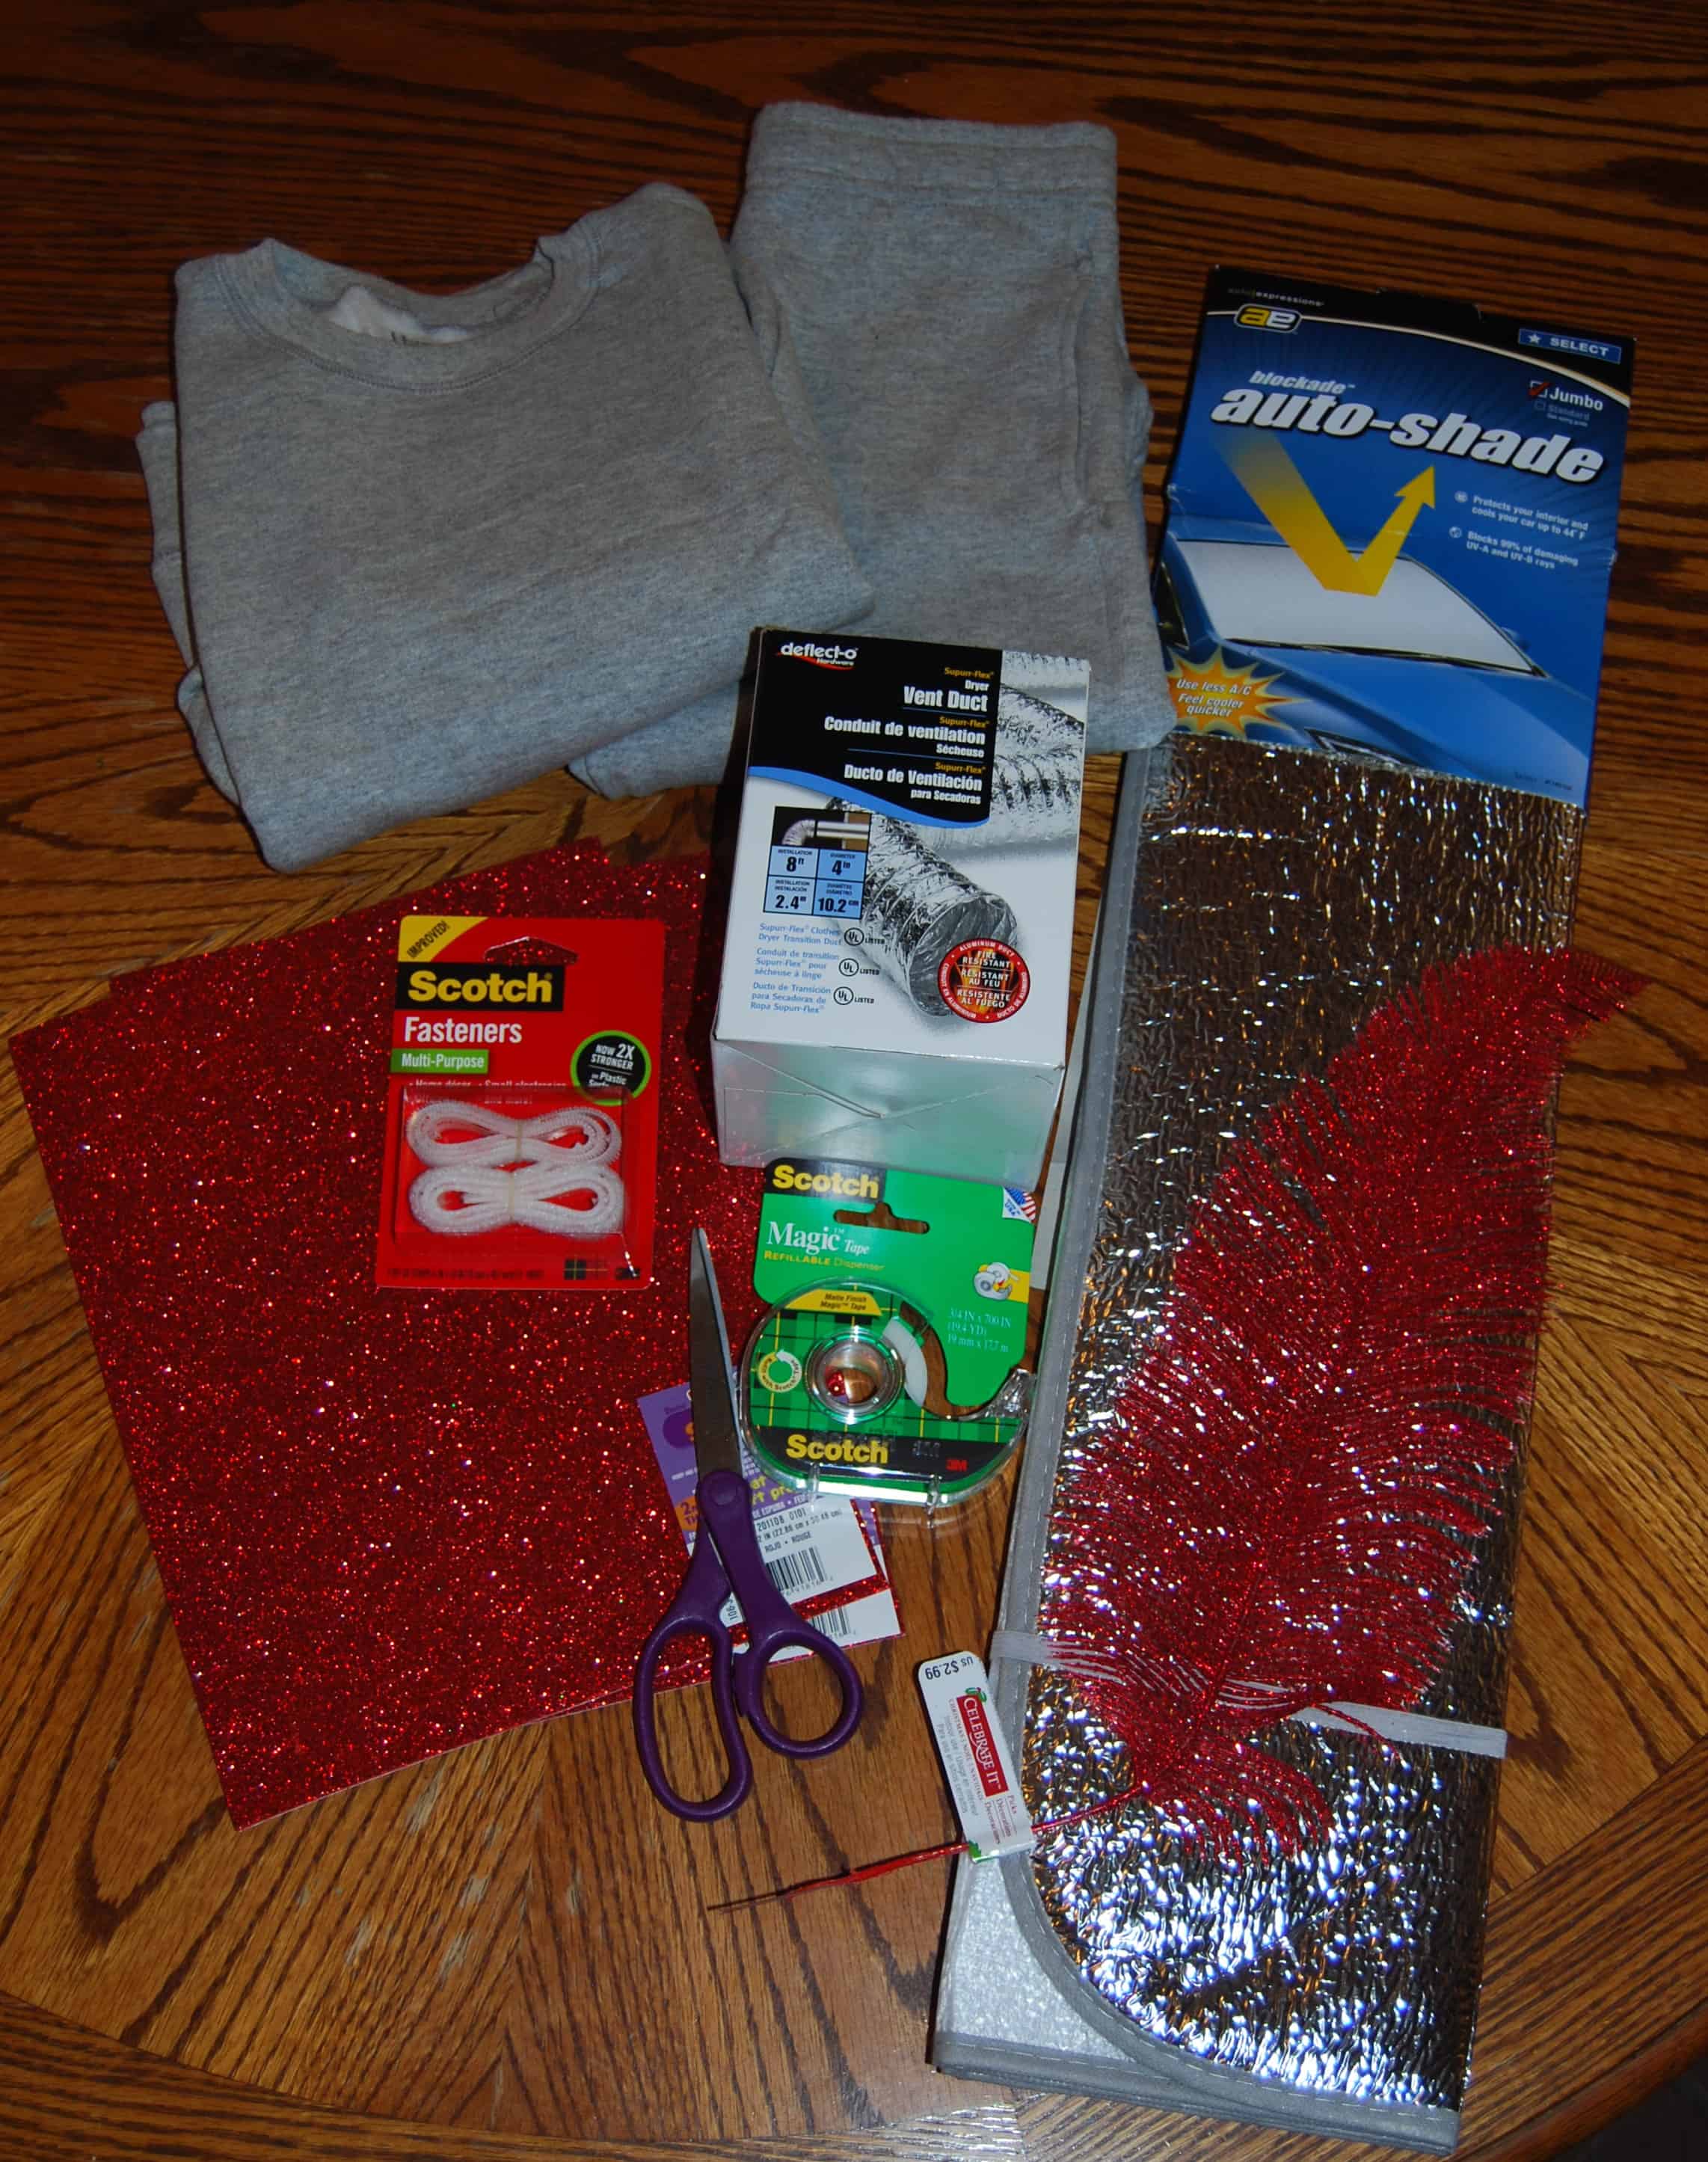
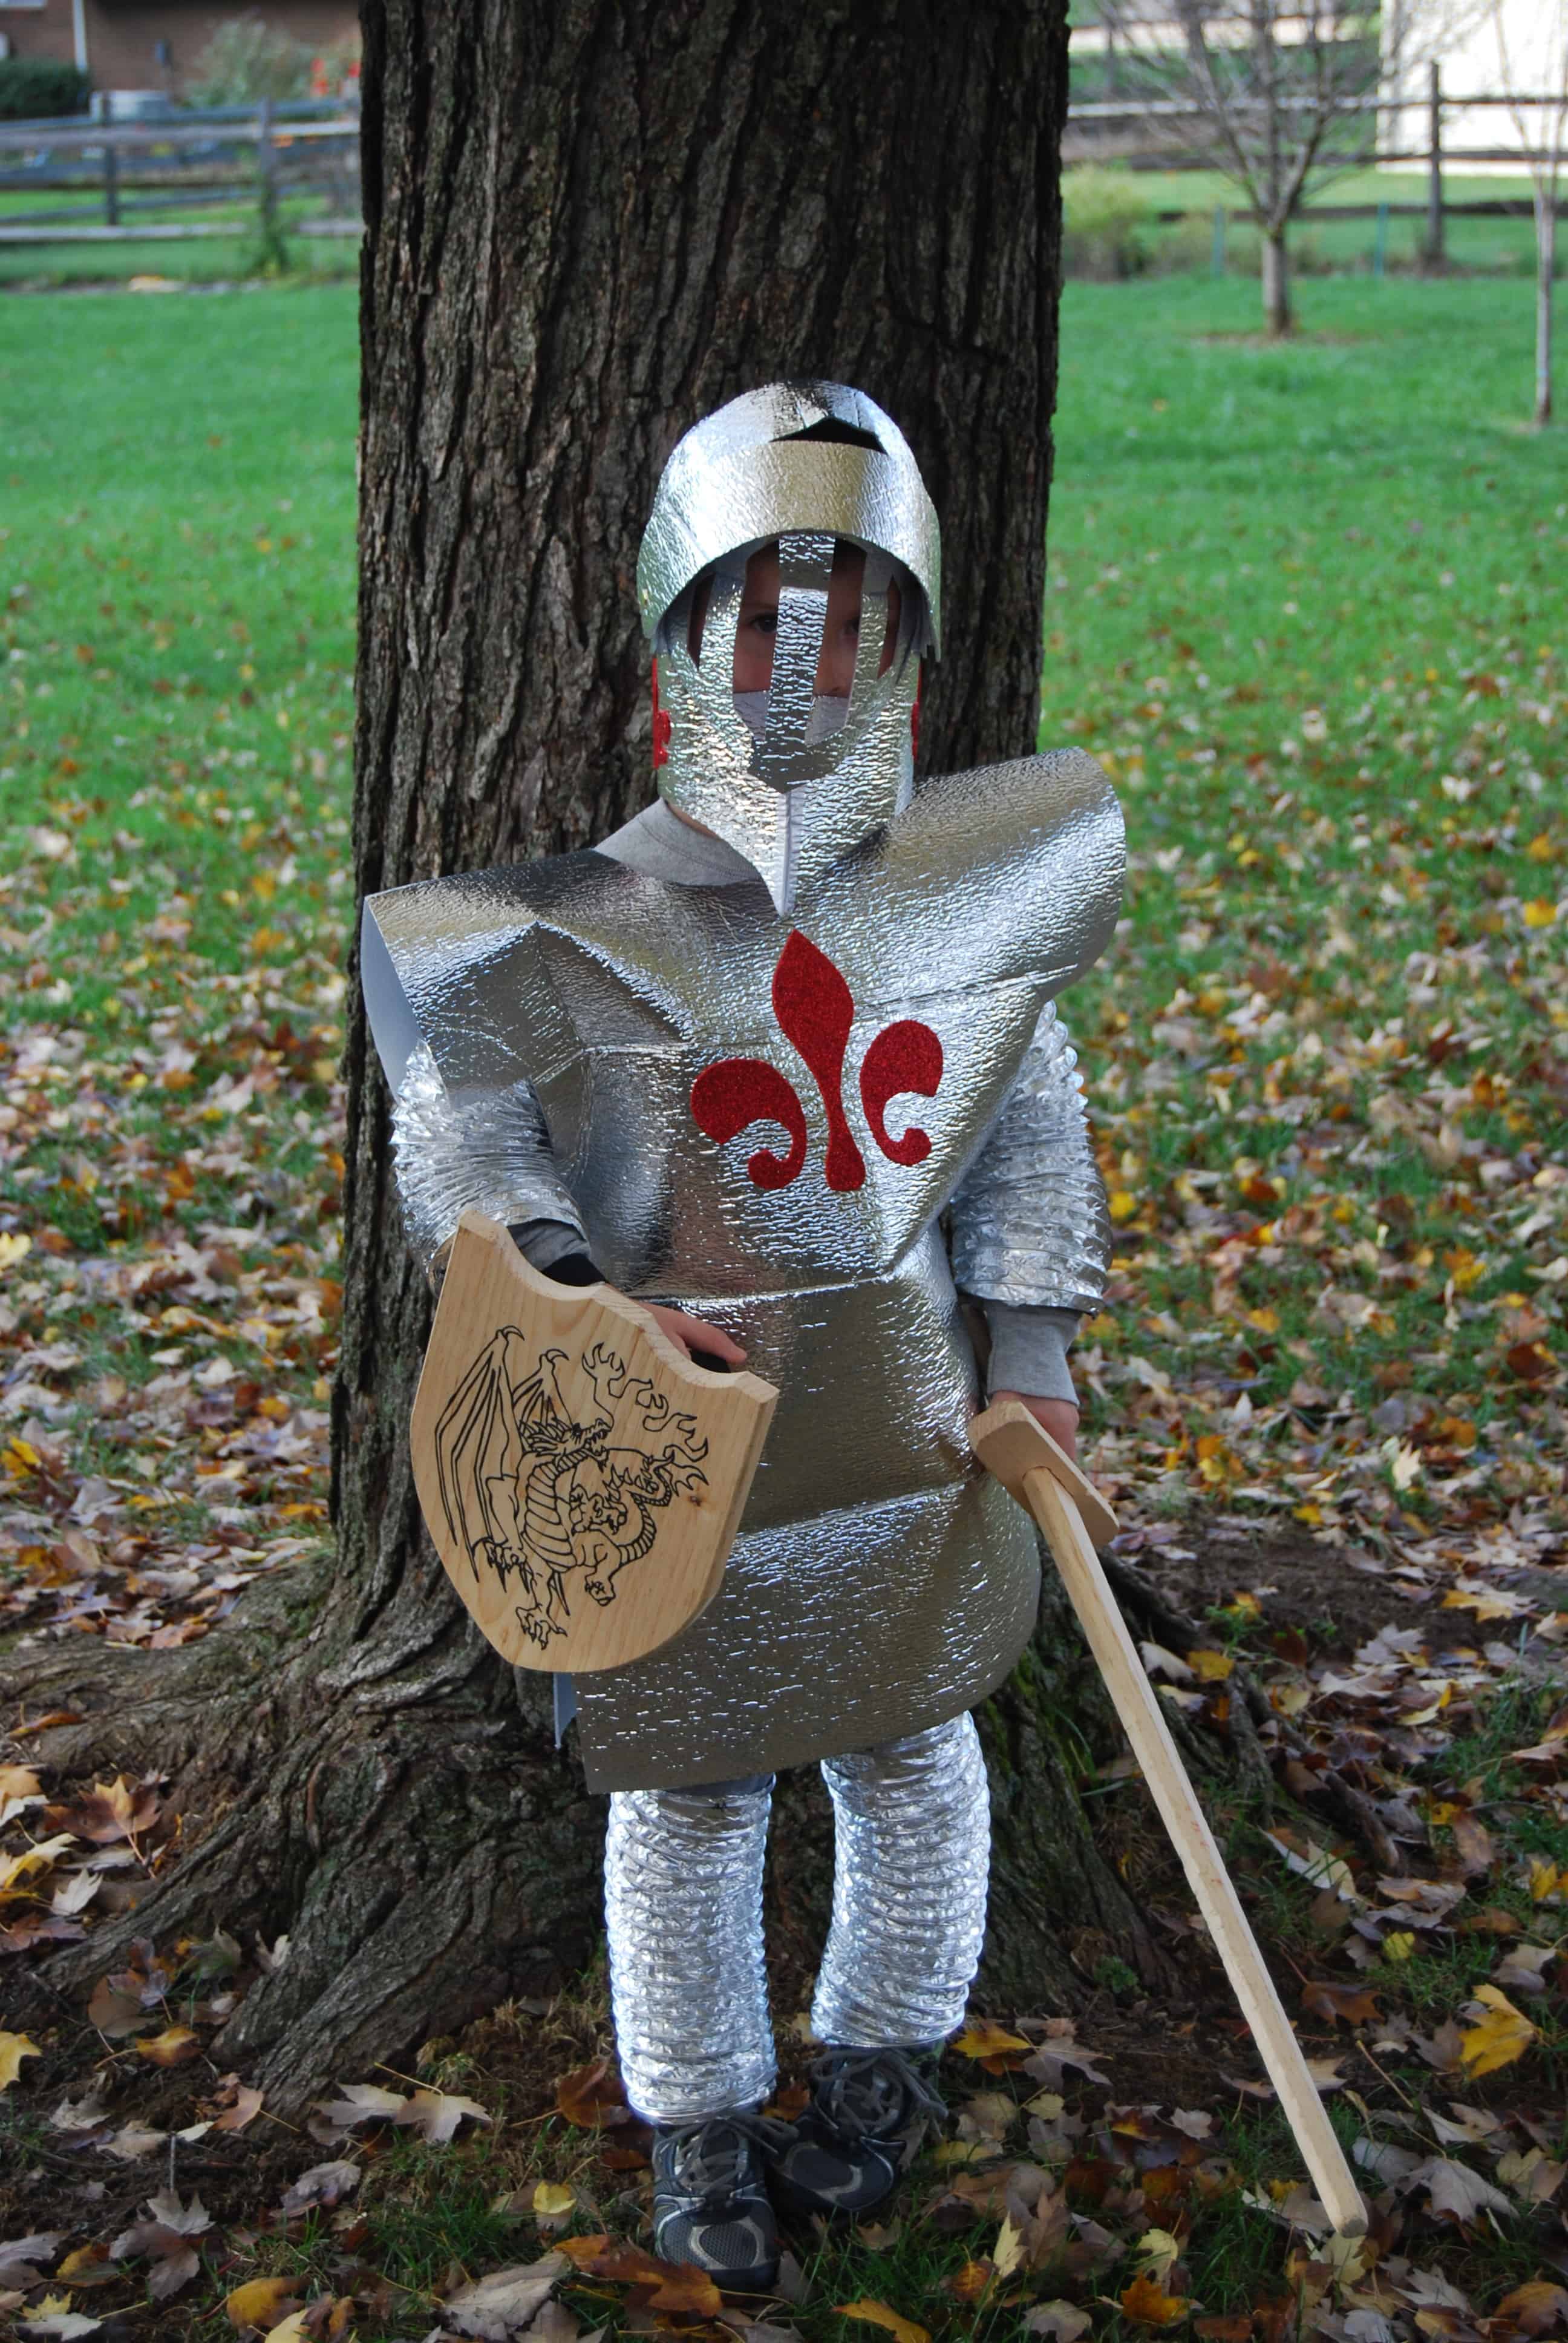
The original plan was to make a robot costume. I bought the supplies I wanted to use and got to work. A few steps into the process it all changed though. The start of the robot costume looked very much like a Knight. Dylan was thrilled with the idea so …. here is how I made my not so little guy into a Knight in Shining Armor.
Knight in Shining Armor Necessary Materials
- Aluminum Dryer Vent Duct – $9.99
- (2) Car Windshield Silver Sun Shades – $3.50 each
- Grey Sweatshirt and Pants – $5 (already had the pants)
- (1) Foamie Glitter Sheet (with a sticky backing) – $1.29
- Feather Plume – $2.99
- (2) Brass Fasteners (already had)
- 6-inch Strip, Velcro (already had)
- Scissors
- Needle and Thread
- Ruler or Straight Edge
DIY Steps
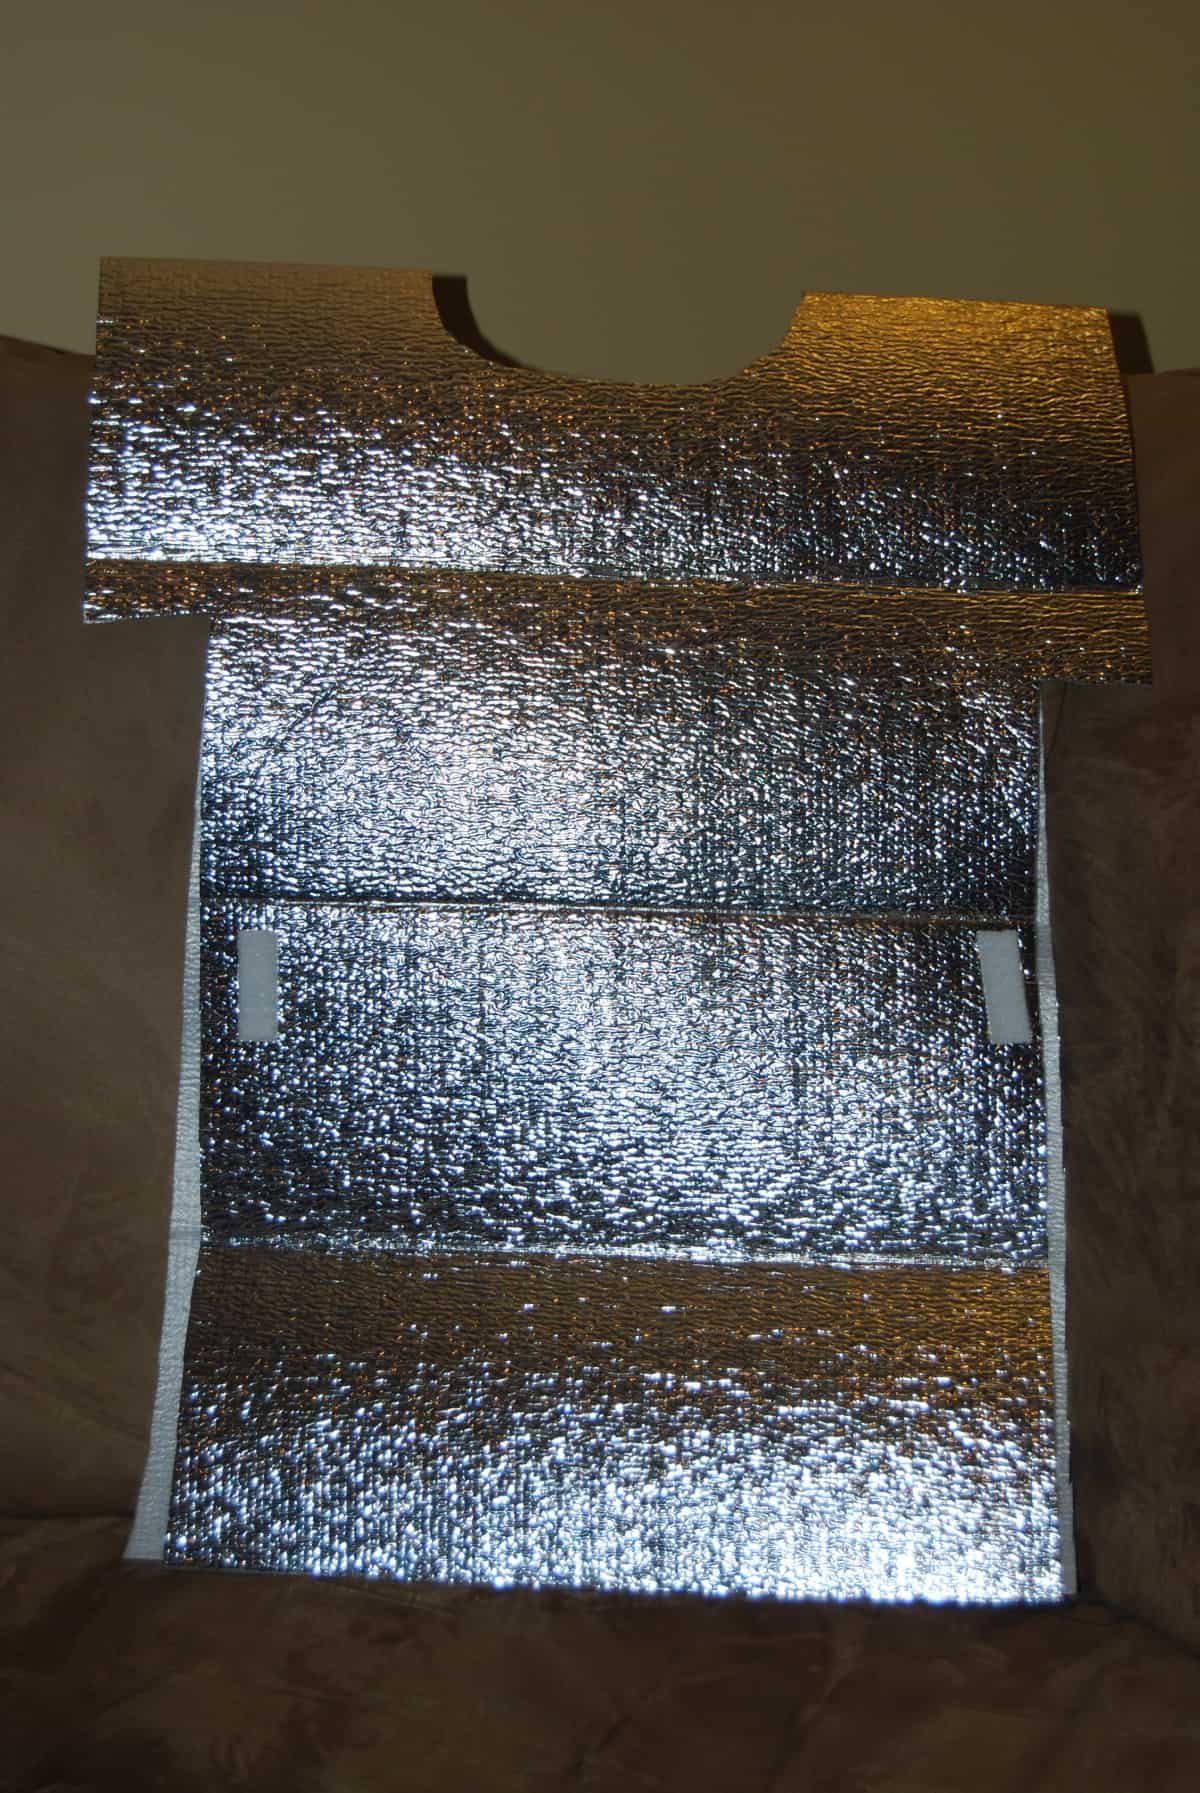
{Step 1} Fold the sun shade in half long ways and cut a head hole in the middle of the crease.
{Step 2} Cut along the sides to make “short sleeves.”
{Step 3} Attach the Velcro to the front and back of the “armor” to close on either side of the waist.
{Step 4} Cut Aluminum Dryer Vent Duct long enough to cover each arm and leg. Depending on the size duct you buy and the child's leg it may only cover to just above the knee.
{Step 5} Sew the Vent Duct to each of the sweatshirts shoulders with the sleeves inside the duct.
{Step 6} Sew the Vent Duct to the sweatpants with the leg of the pants inside the duct.
{Step 7} Use the 2nd Sun Shade, (2) fasteners and watch this video to make a helmet. (This is my favorite part of the costume!) I had no idea how I was going to make the helmet. Google and the video took care of that question pretty quickly.
{Step 8} Find a template for a Fleur de Lis or emblem of your choice to decorate the helmet and chest. Cut from the Foamie Glitter Sheet and stick in place.
{Step 9} Add a feather to the helmet.
{Step 10} Add a sword and shield to complete the costume. Since I live in a house full of boys, both of these were already in our toy collection!
I have very fond memories of making my Halloween costumes with my parents. My hope is that my boys remember their Halloween's the same way! Oh and as for a robot costume …. this same list of materials could easily be used to make that too!
Homemade Knight in Shining Armor Costume
Learn how to create a Knight in Shining Armour costume.
Ingredients
- Aluminum Dryer Vent Duct – $9.99
- (2) Car Windshield Silver Sun Shades – $3.50 each
- Grey Sweatshirt and Pants – $5 (already had the pants)
- (1) Foamie Glitter Sheet (with a sticky backing) – $1.29
- Feather Plume – $2.99
- (2) Brass Fasteners (already had)
- 6-inch Strip, Velcro (already had)
- Scissors
- Needle and Thread
- Ruler or Straight Edge
Instructions
- Fold the sun shade in half long ways and cut a head hole in the middle of the crease.
- Cut along the sides to make “short sleeves.”
- Attach the Velcro to the front and back of the “armor” to close on either side of the waist.
Cut Aluminum Dryer Vent Duct long enough to cover each arm and leg. Depending on the size duct you buy and the child's leg it may only cover to just above the knee. - Sew the Vent Duct to each of the sweatshirts shoulders with the sleeves inside the duct.
- Sew the Vent Duct to the sweatpants with the leg of the pants inside the duct.
- Use the 2nd Sun Shade, (2) fasteners and watch this video to make a helmet. (This is my favorite part of the costume!) I had no idea how I was going to make the helmet. Google and the video took care of that question pretty quickly.
- Find a template for a Fleur de Lis or emblem of your choice to decorate the helmet and chest. Cut from the Foamie Glitter Sheet and stick in place.
- Add a feather to the helmet.
- Add a sword and shield to complete the costume. Since I live in a house full of boys, both of these were already in our toy collection!






Amazingly creative and clever!!!
I LOVE the idea to use the sun shade for the helmet instead of having to cover all those pieces of black paper with aluminum foil! Thanks so much!
It was sooo much easier Melissa! Have fun making it!
Hi! Did you follow the helmet directions exactly? It seems as though with the sun shade you would have to go about it a little differently. Yours looks great but it seems slightly different from the one made from paper and foil.
Hi! We’ve actually tried this for our son for Halloween of 2013! It turned out amazing! We drew the symbol on there with a sharpie and used black duct tape along the edges to create a dominant look. Then picked up a sword an shield at the dollar store (: . Def. a recommended costume for boys!
Rhonda, love this!! Please send me a picture of your son if you have one. I’d love to include it in this post too :) My email is [email protected]
Really creative! i like it!