Toddler Placemat Game of Colors DIY

I admit that I am ALWAYS looking around for ways to “teach” and keep my oldest daughter, Ella, busy. I have VERY LITTLE time now that the twins are crawling all over creation (Ava & Addy).
I will definitely not win the mother of the year award anytime soon….but hope the little things I do help Ella grow each day.
One of my favorite learning tools I use and recreate constantly are place-mats. Ella looks forward to new ones every few weeks!
I recreated a placemat I had made when she was 18 months old….now she is 4! It helped refresh Ella's memory of all her colors before preschool started again.
Toddler Placemat Game of Colors Supplies Needed
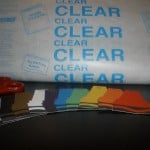
- Clear Contact paper
- Paint samples found at local hardware stores
- Scissors
- Bottle tops
- Cutting machine (optional)

DIY Instructions
{Step 1} Start by cutting out a desired size of clear contact paper. I prefer about a 11 x 13 size.
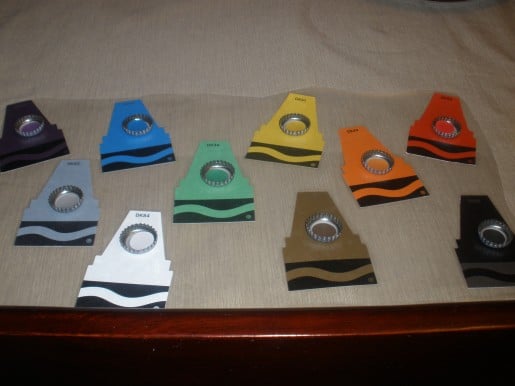
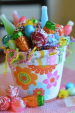
{Step 2} Place the paint samples face down on the sticky side of contact paper. Found these at Menards! Adorabs!
{Step 3} Back it with another piece of contact paper. The placemat can serve as a game TOO! This helps Ella pass the waiting time to get her meals.
 {Step 4} Cut out circles the size of the inside of bottle tops (about 3/4″) of matching colors to the place-mats. To make it super easy I used my Cricut Cutting machine (worth the investment!)
{Step 5} Glue the circles to the inside of the bottle tops and you are ready to roll.
{Step 6} Play and match all day long. With using the contact paper it can be wiped clean so easily!! Another plus!
Project Cost
Hope your kids love this colorful craft just as much as mine has. A cheap way to liven up the day!! The only thing that “really” needs to be purchased is contact paper, but I'm sure you have some laying around somone cause those rolls last FOREVER!
Toddler Placemat Game of Colors DIY
This is an inexpensive thing to make to keep your kids entertained and learning their colors!
Ingredients
- Clear Contact paper
- Paint samples found at local hardware stores
- Scissors
- Bottle tops
- Cutting machine (optional)
Instructions
- Start by cutting out a desired size of clear contact paper. I prefer about a 11 x 13 size.
- Place the paint samples face down on the sticky side of contact paper. Found these at Menards! Adorabs!
- Back it with another piece of contact paper. The placemat can serve as a game TOO! This helps Ella pass the waiting time to get her meals.
- Cut out circles the size of the inside of bottle tops (about 3/4″) of matching colors to the place-mats. To make it super easy I used my Cricut Cutting machine (worth the investment!)
- Glue the circles to the inside of the bottle tops and you are ready to roll.
- Play and match all day long. With using the contact paper it can be wiped clean so easily!! Another plus!

so cute! thanks for sharing. can’t wait to try this