DIY Plant Markers
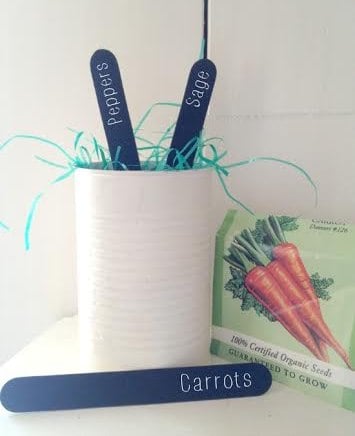
Tis the season to start planting, which means you will be needing a way to keep your plants and flowers organized. Plant markers are a great way to keep plants organized and orderly, but can be pricey when bought at your local gardening centers. Instead, why not make your own?
You can create these simple chalkboard plant markers that can be used over and over again, keeping your plants and even planting dates organized and neat. Take a look at how to craft your own using just a handful of common materials.
Chalkboard Plant Markers Supplies
- Wide Wooden Craft Sticks
- Chalkboard Paint
- Chalk
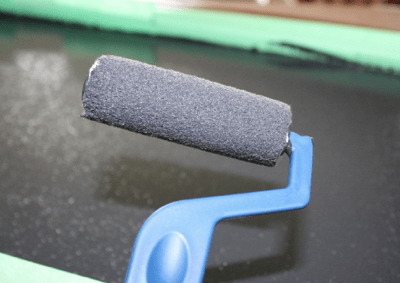
You can find all of these items at your local craft store. Look for the wide craft sticks only as those are the ones that will allow you lots of writing room. You can use brush on or spray on chalkboard paint, however the spray on paint seems easier and dries faster.
Chalkboard Plant Markers Supplies Directions
- Begin by laying your sticks on some newspaper. Apply two coats of chalkboard paint allowing plenty of drying time in between coats.
- Do not use your markers for about 24 hours. You want the paint to be completely set.
Use your chalk to write the names of your plants onto the markers. You can also write the planting date so that you know when they were planted. On that same note, you can also write the harvest date so you know when the plants will be ready to harvest.
Find MORE Easy Crafts HERE
PrintDIY Plant Markers
Make these easy plant markers for your garden.
Ingredients
- Wide Wooden Craft Sticks
- Chalkboard Paint
- Chalk
Instructions
- Begin by laying your sticks on some newspaper. Apply two coats of chalkboard paint allowing plenty of drying time in between coats.
- Do not use your markers for about 24 hours. You want the paint to be completely set.

