Blanket Ladder DIY
Blanket Ladders, Shiplap, Gallery Walls, Oh My!
Hi, my name is Andrea, and I am obsessed with shiplap like the millions of others in the world now thanks to Chip and Joanna Gaines!
There, now that *that* out of the way I feel like this DIY will give you some insight into why I wanted this farmhouse blanket ladder DIY for the blog!
I am *that* woman who had her husband make a shiplap wall in their home. Well, it actually wasn't an *entire* wall like some of *those* people. {ahem} The shiplap is hanging on the walls on the side of our fireplace. And you know what?
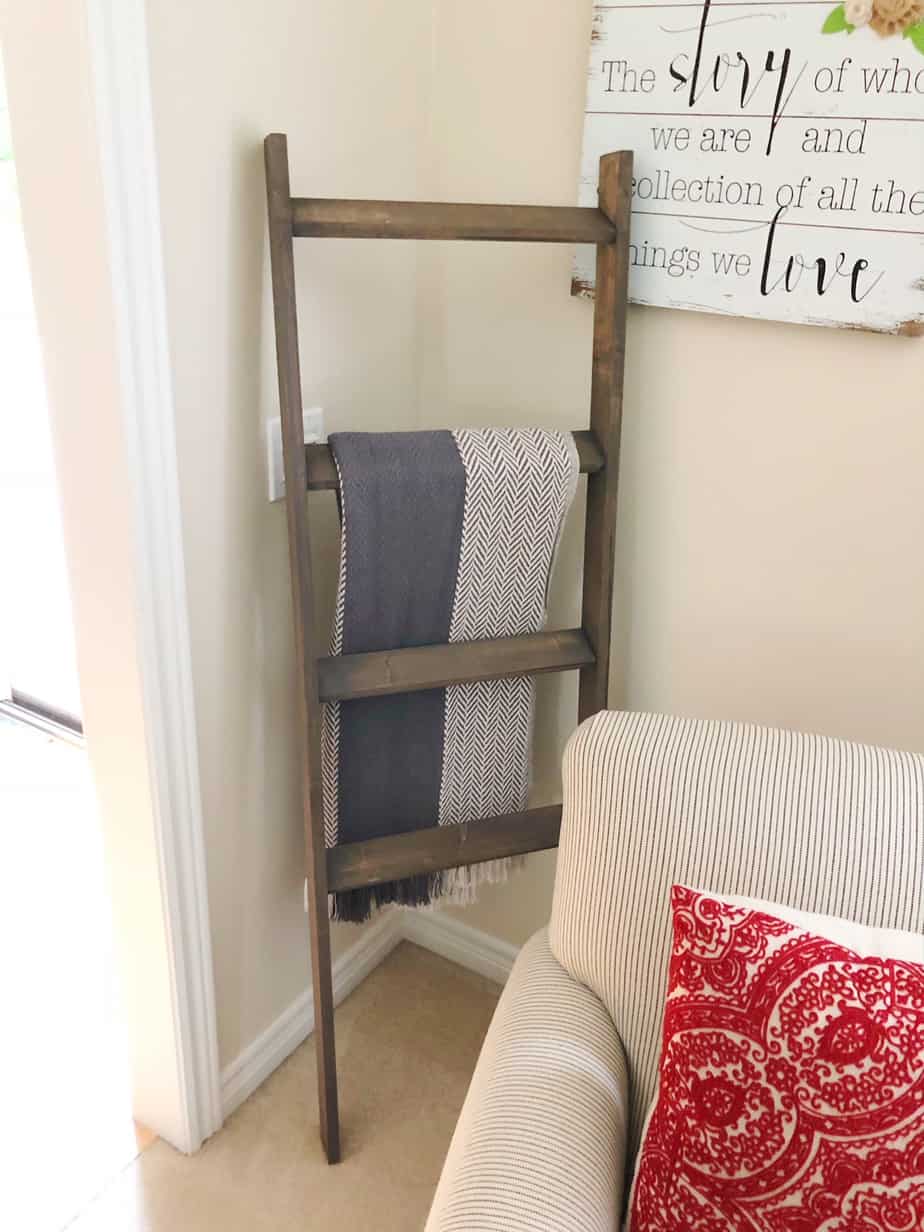
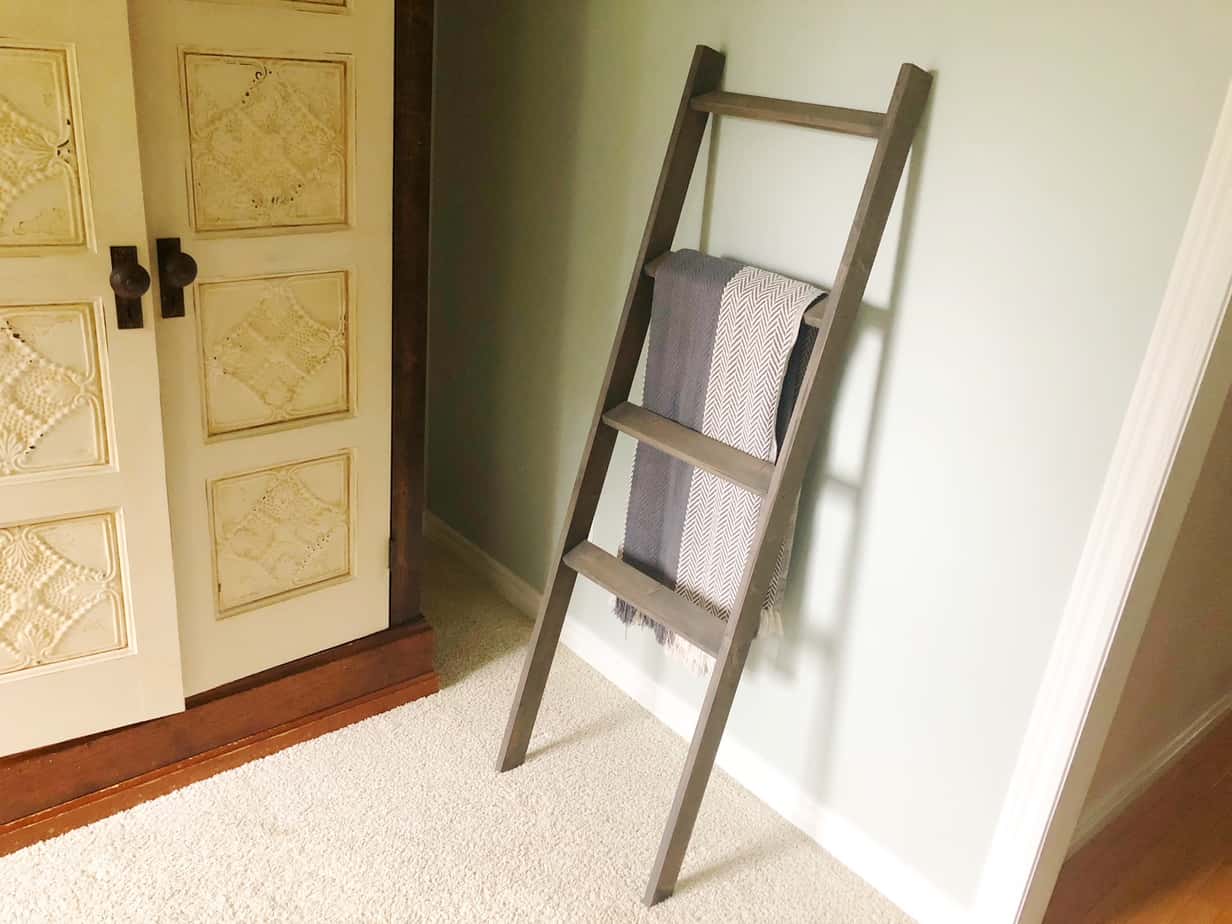
These walls were clearly BEGGING for a Blanket Ladder!
If walls could talk, anyway. Or fireplaces. They would both surely say that. They wanted a rustic blanket ladder. And, by golly, who am I to let my walls down.
Enough of my hysteria with shiplap and blanket ladders, let's get right down to this DIY so you can make this one yourself. Or, ahem, have your hubby help make one, or five.
You know, just like a shiplap wall you can never have too many blanket ladders in the house. And, to be honest, when they are this simple to make why wouldn't you?! (or him…) :D
Blanket Ladder DIY Supplies
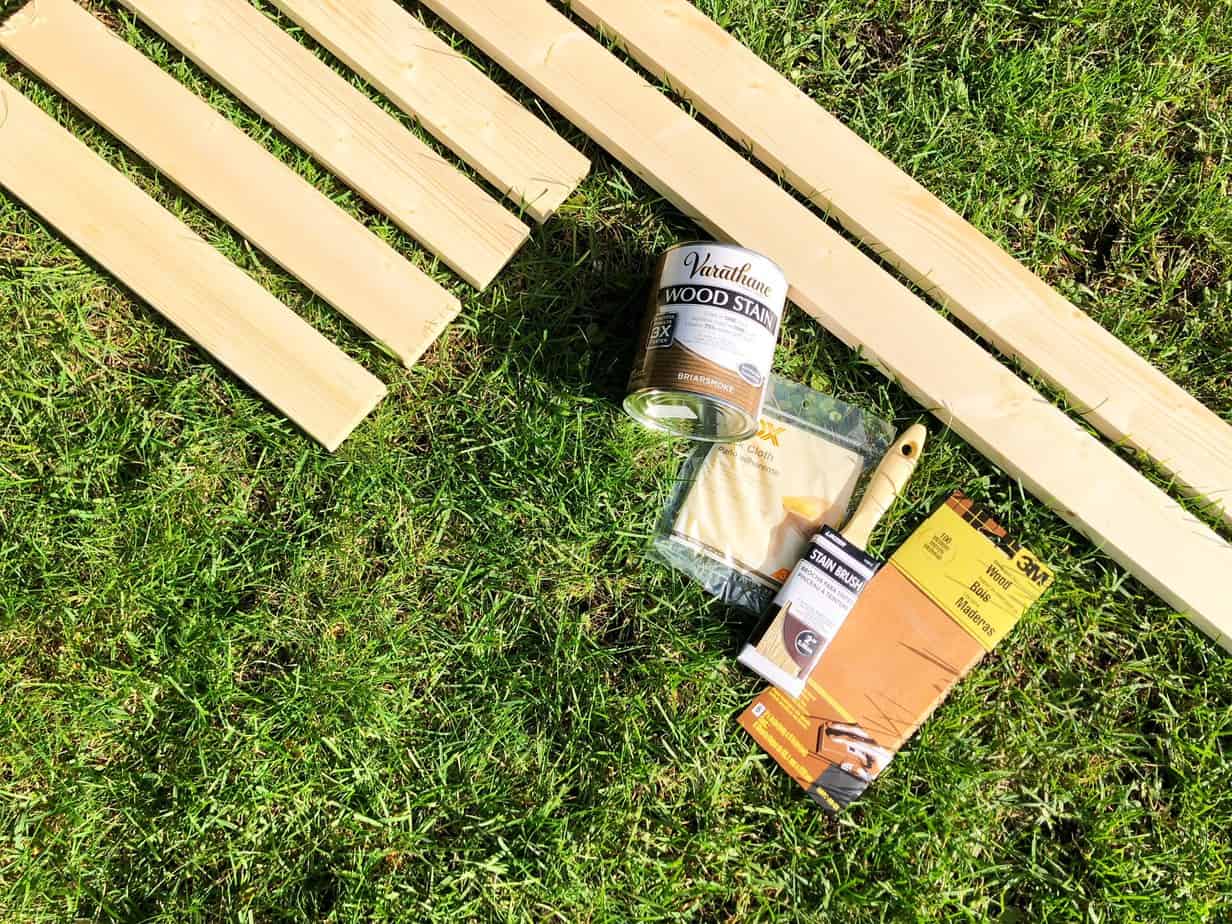
- 2 Common Boards, 1 x 3 x 8 Size
- 1.5” Wood Screws
- Gorilla Glue (or any Wood Glue)
- Screw Gun
- Stain and Polyurethane Mix (your own color preference)
- Paint Brush
- Rag
- Pencil
- Measuring tape
- T-Square
- Orbital Sander and Sandpaper
- Saw Horses
Always use safety precautions when using electric tools. Or, tell your hubby to be safe and have him look at you where his eyes are saying “Leave me be so I can finish this project and get to work on your next project.” Alrightythen.
DIY Blanket Ladder How To
- Purchase the 2 common boards, making sure to get the 1 x 3 x 8 size. If your hardware store will make cuts for you (our Home Depot does this for a small fee), ask them to cut the boards into the following sizes:
— 4 boards at 17 inches (the rungs)
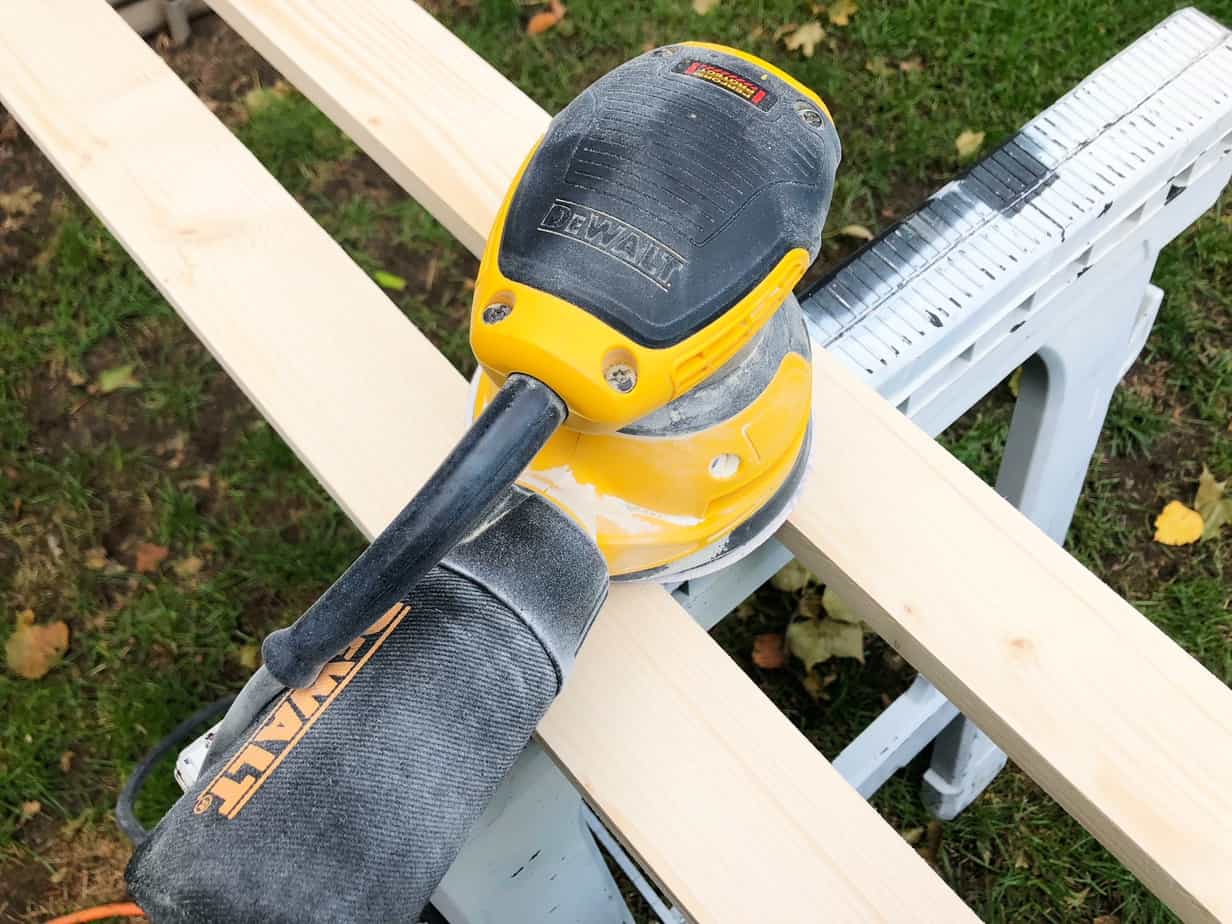
— 2 boards at 5 feet (the sides) - Set up the saw horses outside. Sand all sides of the boards using an orbital sander. You can use a sanding brick if you don't have an electronic sander but it will just take a little longer.
- Remove the dust with a rag or tack cloth. This is important to make sure there is no debris on any of the wood as you assemble and prep for staining.
- Now it's time to measure and mark the position for each ladder rung.
- The first ladder rung (17-inch board) will be placed 3 inches from the top of the 5-foot boards. Measure and mark each 5-foot board accordingly.
- The spacing in between each rung will be 12-inches. So, from that top rung, measure 12-inches below (or 15-inches from the top of the 5-foot board) and mark the placement for the second rung. Do this again for the third and fourth rung. Be sure to keep 12-inches between each rung (17-inch board).
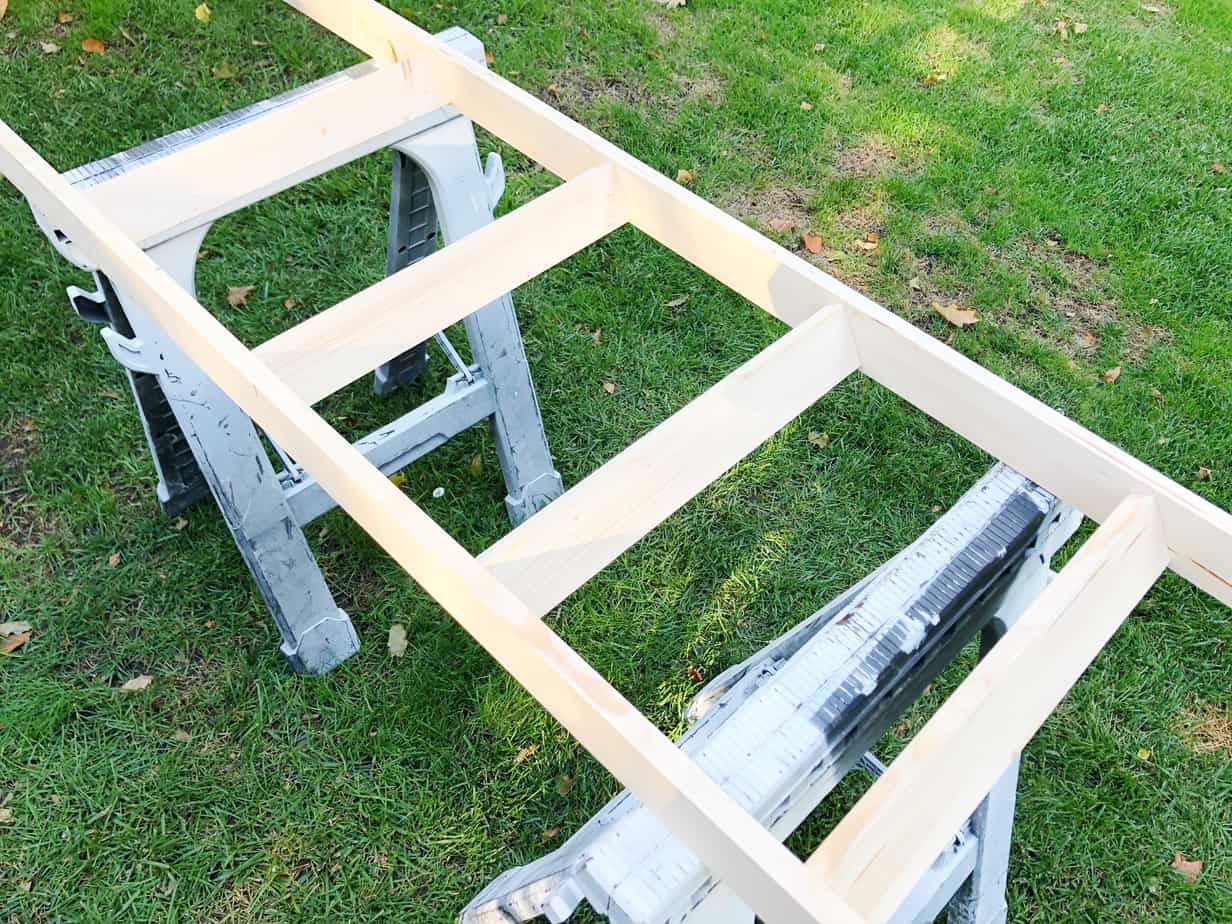
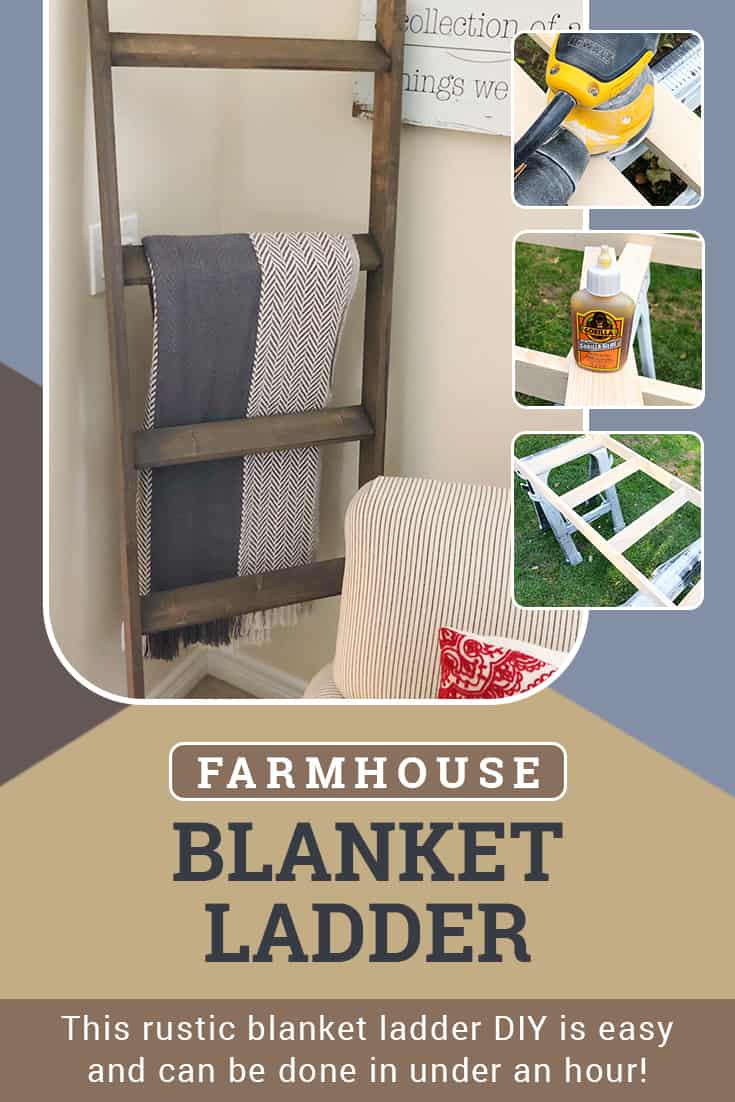
- Apply a small amount of Gorilla glue on the sides of the rungs (17-inch boards) and place in between the ladder sides. You want the rung boards to be angled so that the opposite corners are flush with the opposite side of the 5-foot blanket ladder sides.Look closely at the pictures and you will see what I mean for this position. They will look diagonal on the side boards. This position will give you more leverage for when you're drilling in the screws to keep the rungs secure.
- Carefully use a drill and 2 screws on each side to screw the rung boards onto the ladder sides.
- Repeat the steps until all rung boards are attached with screws and glue.
- Wipe off any excess glue.
- Mix your stain and use a brush to apply it evenly to the ladder, one board at a time. Wipe each side of the board with a rag after you brush on the stain and move to the the next board.
- Touch up the ends of the boards with stain, wipe and let dry overnight.
The biggest tip I can give you for this DIY is to have the hardware cut the board sizes. If you don't need to get a saw to cut yourself, it is worth the small fee the hardware store charges for this cutting.
It really is a quick process! Which is why this DIY lends itself to making multiple blanket ladders at once. You may as well make 5 since you already have the glue and drill out. :D
When I searched for a Blanket Ladder DIY for myself as we started to make these, there were lots of posts but they all were missing a piece or two in the process. Here are a few additional questions that you may find helpful as you tackle this mini project.
How to keep blanket ladder from sliding?
These non-slip pads are great to keep furniture from sliding around. They have the rubber grip on the bottom. You can cut them to size and easily stick to the bottom of the blanket ladder so it will stay in place.
Now these won't help *as much* if you overload your blanket ladder with heavy blankets, shelves, etc. Blanket ladders like these can be functional, but we use them primarily as decor with some added function.
How to decorate a blanket ladder?
Add blankets, baskets, wreaths, the sky is the limit! Get creative with your decor. As I mentioned above, just don't load down your blanket ladder since it doesn't have a square base like a shelving unit. It is more challenging to stay in place without a solid foundation with too many heavy items hanging on it.
How to stain a blanket ladder?
We listed this in the steps above. It's easiest to have your ladder completely assembled first (and the glue dried from assembly). The saw horses are great to use for this since you can easily get around all surfaces of the ladder and stain evenly.
How wide is a blanket ladder?
It can be as wide as you like, but our DIY has each rung being 17 inches wide exactly. It's easiest to just have the hardware store cut these for you so it's one less step to worry about when you're assembling.
What angle to cut blanket ladder?
So you're not worrying about stability of the blanket ladder while placed on the floor, you can cut the bottom board at a 10 degree angle. However, this may not be necessary if you add those non-slip pads I mentioned above.
How to secure blanket ladder to wall?
If you want to add the blanket ladder to a wall, make sure you hang with a nail into the stud. Once you add a few blankets, and any baskets or other accessories, it will be heavy. Having the ladder hung into a stud will be the safest thing to ensure it doesn't fall off the wall.
Blanket ladder with wire baskets?
There are some cute baskets you can hang onto the blanket ladder. I saw these coming with the blanket ladders in the store. Since this is a DIY, here are a few good options to consider if you're planning to make your own:
- This basket has hooks so you can hang the basket onto a rung.
- This basket is inexpensive and can be nailed into a rung.
- This basket is also inexpensive and would need to be nailed into a rung to be used as a storage option.
Blanket ladder with storage?
The baskets are great to add to the blanket ladder for additional storage. When I was originally looking for a blanket ladder to purchase many do come pre-made with storage built into each rung on the ladder. However, that wasn't the look I was going for but I'm sure it could be built onto each rung as well. Hmmm….another idea for hubbby!!
Blanket ladder for living room?
Our blanket ladders are in the living or family room, and I feel like they are the perfect size with the 4 rungs. Not too tall, or too short where you can accessorize a bit.
Can't you just buy a blanket ladder from Ikea, Crate and Barrel, Target, Joss and Main, Pottery Barn, Hobby Lobby, {fill in the blank store name}?
First off, are you my husband asking this question?? And, why aren't you getting that honey-do list of mine done instead of commenting on this blog post?! JUST KIDDING!
I live about 15 minutes away from an Ikea where they sell these pre-made and they are *inexpensive* there too (but that is relative). I'm also close enough to visit and purchase from the other stores as well. When I first got the *itch* to get one (or a few), I priced them at those other stores and said, thanks but NO thanks!
This DIY cost around $10, and that's IF you don't have all of the materials already (which we did since I love to repurpose old furniture). So, nope, spending that kind of money just wasn't gonna happen.
My motto is to: save on what you need so you can spend on what you want. This blanket ladder was a want, for sure. However, when I knew that I could save on a DIY, that was an easy way for me to save on what I wanted too!
Blanket Ladder DIY
Ingredients
- 2 Common Boards, 1 x 3 x 8 Size
- 1.5” Wood Screws
- Gorilla Glue (or any Wood Glue)
- Screw Gun
- Stain and Polyurethane Mix (your own color preference)
- Paint Brush
- Rag
- Pencil
- Measuring tape
- T-Square
- Orbital Sander and Sandpaper
- Saw Horses
Instructions
- Purchase the 2 common boards, making sure to get the 1 x 3 x 8 size. If your hardware store will make cuts for you (our Home Depot does this for a small fee), ask them to cut the boards into the following sizes:
— 4 boards at 17 inches (the rungs)
— 2 boards at 5 feet (the sides) - Set up the saw horses outside. Sand all sides of the boards using an orbital sander. You can use a sanding brick if you don't have an electronic sander but it will just take a little longer.
- Remove the dust with a rag or tack cloth. This is important to make sure there is no debris on any of the wood as you assemble and prep for staining.
- Now it's time to measure and mark the position for each ladder rung.
- The first ladder rung (17-inch board) will be placed 3 inches from the top of the 5-foot boards. Measure and mark each 5-foot board accordingly.
- The spacing in between each rung will be 12-inches. So, from that top rung, measure 12-inches below (or 15-inches from the top of the 5-foot board) and mark the placement for the second rung. Do this again for the third and fourth rung. Be sure to keep 12-inches between each rung (17-inch board).
- Apply a small amount of Gorilla glue on the sides of the rungs (17-inch boards) and place in between the ladder sides. You want the rung boards to be angled so that the opposite corners are flush with the opposite side of the 5-foot blanket ladder sides.Look closely at the pictures and you will see what I mean for this position. They will look diagonal on the side boards. This position will give you more leverage for when you're drilling in the screws to keep the rungs secure.
- Carefully use a drill and 2 screws on each side to screw the rung boards onto the ladder sides.
- Repeat the steps until all rung boards are attached with screws and glue.
- Wipe off any excess glue.
- Mix your stain and use a brush to apply it evenly to the ladder, one board at a time. Wipe each side of the board with a rag after you brush on the stain and move to the the next board.
- Touch up the ends of the boards with stain, wipe and let dry overnight.
Disclosure: This post contains a link to an affiliate and support this site. See my Disclaimer Policy for additional information.

