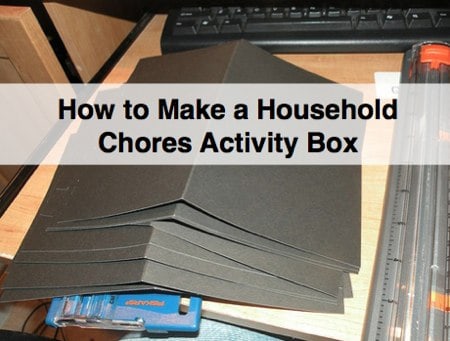
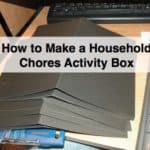
Creating a Household Chores Activity Box

Last month I shared how getting our kids involved in household chores was a huge issue for us. My challenge was (and sometimes still is) trying to get them involved to help out around the house so we can spend more quality time as a family. Let's face it, they may still resist, but it's not because of not knowing what chores need to be done thanks to our Household Activity Boxes!
In the Fall, I was inspired by this post to create a magnetic menu planner. Well, being me and knowing there was more potential to the idea, I thought it would be great to have our boys' household chores on a magnetic calendar board so they could see what they were supposed to be doing each day of the week.
What started as a magnetic board turned into a household activity box for each member of the house (including mom and dad!). I decided to keep the menu ideas as part of the boxes since that would be a huge help in facilitating our menu planning. I have a separate box devoted just to menu planning and the sort.
If you need help with creating more quality time and remembering what household activities need done, this has worked for us for the past several months! Here is step by step what you will need to create your own Household Activity Box.
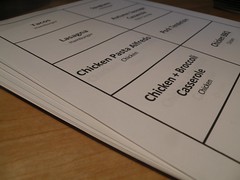
{Step 1} Create a list of all household activities and menu items. Really think about what things have to happen to make your house function regularly. We talked about this before in T's 80 second video.
You will need to identify who is responsible for what, which means you may need to create multiple cards (i.e., each boy is required to make their beds so that was three copies instead of just one). You can see from the picture below I also put our boys' initials on all of the cards so I could quickly see who had to do what.
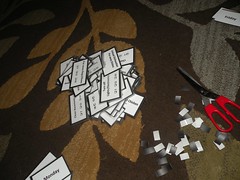
If you are printing your list like I did, just cut them into individual cards once you're done printing. 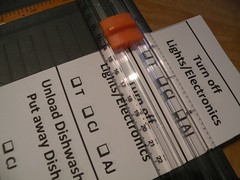
{Step 2} Put your activity card onto a hard card stock. This is optional but I wanted my cards to have a shadow effect with the black showing up behind for some visual interest.
I used a bag of plain black cards I got at the craft store with a coupon. This was a sturdy weight of paper for the job (since the boys would be handling them a lot). I could cut each card to make 6 total cards and affix the activity note onto the card.
When I was nearing the end of the gazillion cards, I decided it would have been easier all along to have used a large label (similar to these) that already had adhesive on the back, cut them and peel off. So that's how I finished them. The things you can find efficiency in through repetition!
You can get creative with the labels and design in this part. Maybe have a design that will motivate your kids (and tell me what it was so I can experiment ;) 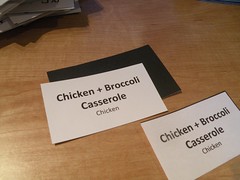
{Step 3} This is optional, but I laminated our cards. I wanted them to remain smudge free so this has helped achieve that!
You could take them to an office supply store to laminate. My husband's office had a laminating machine so I purchased some sheets and was the laminator for an hour.
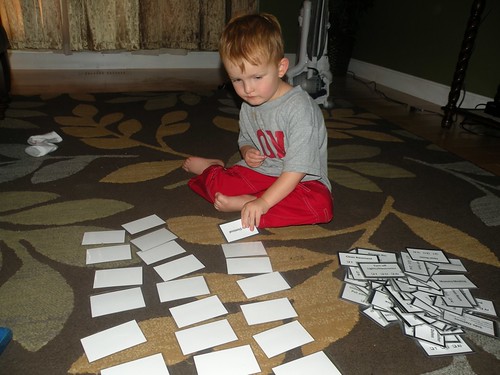
{Step 4} This is also optional, but since I wanted our cards (initially) to be magnetic, I applied magnets to each card. I bought the large rolls of magnet at the craft store (with a coupon, of course). This is an area the kids got involved again as you can see Andon laying out the cards for momma to poke magnets on below.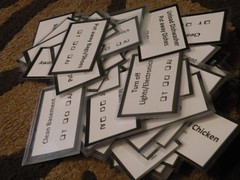
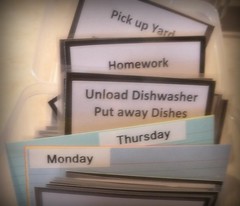
{Step 5} We didn't end up doing the magnetic board as was done in the inspiration post. Honestly, we couldn't find a board wide enough for each day of the week and all of the tasks the boys needed to complete (well, we could but htey were over $200!). So, I decided to get recipe boxes and keep their cards in the box.
{Life Application} I won't lie, this is the tough part. I'm usually all ideas and when it comes to application, I fizzle. Not with this.
The kids were into it (as much as they can be when it requires additional work and energy that is not playing basketball). They ultimately knew what their responsibilities were.
 Each day as they come home and want to run back outside to play, I suggest they look in their box. They don't even need to, they just get on what they are supposed to get done for the day.
So if you need to help with getting your household activities organized and getting your kids involved, try this out. You will have little investment into it to see if it works.
This is a sponsored conversation written by me on behalf of Kenmore. The opinions and text are all mine.
PrintCreating a Household Chores Activity Box
How to Make a Family Chore Schedule
Ingredients
Instructions
- Create a list of all household activities and menu items. Really think about what things have to happen to make your house function regularly. We talked about this before in T's 80 second video.
- Put your activity card onto a hard card stock. This is optional but I wanted my cards to have a shadow effect with the black showing up behind for some visual interest.
- This is optional, but I laminated our cards. I wanted them to remain smudge free so this has helped achieve that!
- This is also optional, but since I wanted our cards (initially) to be magnetic, I applied magnets to each card. I bought the large rolls of magnet at the craft store (with a coupon, of course). This is an area the kids got involved again as you can see Andon laying out the cards for momma to poke magnets on below.
- We didn't end up doing the magnetic board as was done in the inspiration post. Honestly, we couldn't find a board wide enough for each day of the week and all of the tasks the boys needed to complete (well, we could but htey were over $200!). So, I decided to get recipe boxes and keep their cards in the box.